To connect your iPhone or iPad via Wi-Fi in iMocker, follow the steps below:
Ensure you have downloaded the latest version of iMocker on your computer.
To connect your device via Wi-Fi, you'll initially need to connect it to the computer via USB cable. Then, unlock your device and tap on "Trust" from the pop-up message.

Once your device is successfully connected, disconnect it to return to the home page of iMocker.

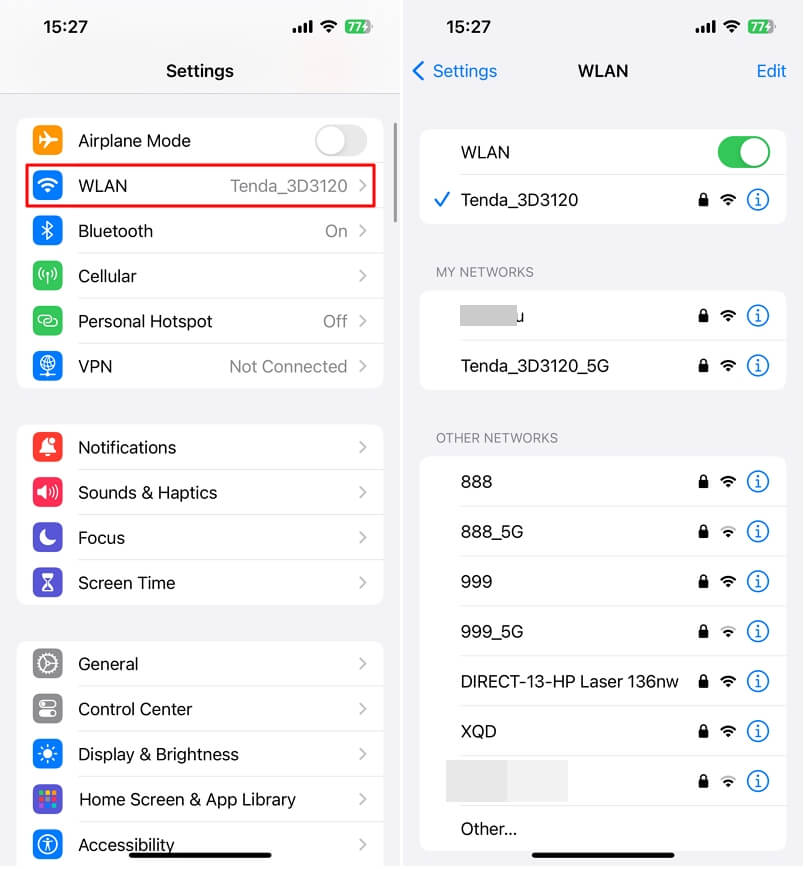
Now turn on Wi-Fi on your iPhone and verify that both your device and computer are connected to the same Wi-Fi network.

Next, follow these tips to set your device's display to never auto-lock:

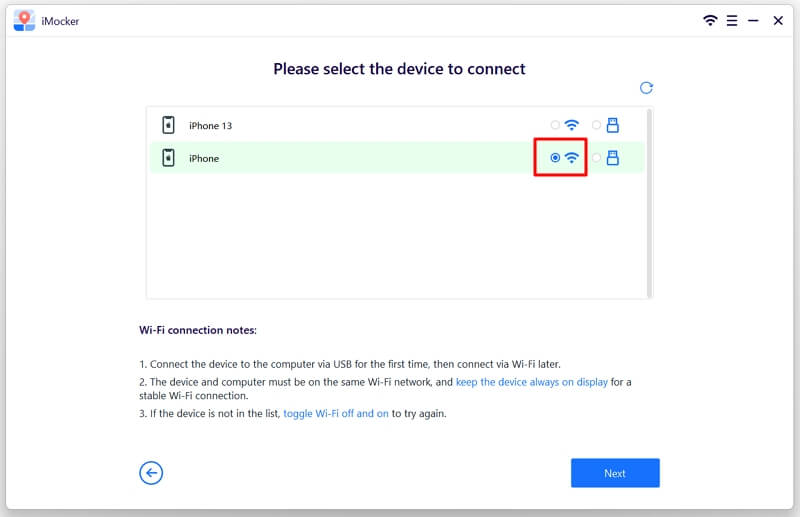
Return to iMocker and click "Start." A list of devices will appear on the screen. Choose your desired device and select the Wi-Fi connection option from the list.
If your device isn't displayed, toggle Wi-Fi off and on from your device's settings and click the "Refresh" button in iMocker to try again.

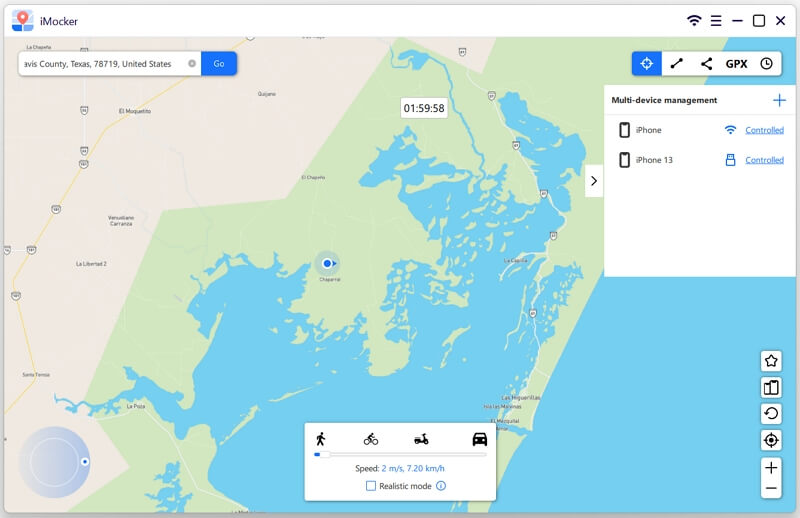
Your device is now successfully connected via Wi-Fi. You can utilize iMocker to adjust GPS settings or simulate movement on your device as needed!

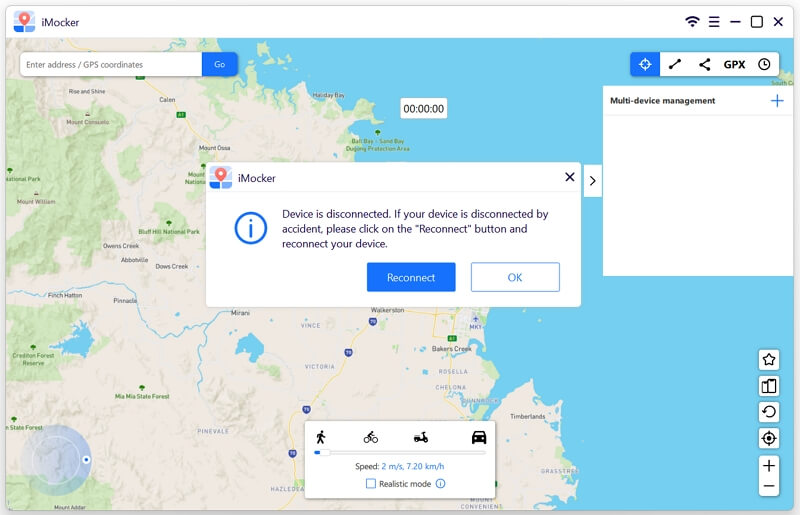
How to Troubleshoot When Wi-Fi Connection Fails:
