We've all seen certain features on apps read 'not available in your region' and had major location envy. I know how it feels when the location tracking apps such as Find My or Life360 keep show the precise location without protecting your privacy.
Well, the good news is that with a simple geolocation changer for your iPhone, you can easily enjoy all the features of your favorite apps or protect your privacy. In this helpful guide, we look at how to change geolocation on an iPhone using 5 ways.
Changing your GPS location on an iPhone, also known as GPS spoofing, isn't something you can do without any external app since iOS has no option to do this. But before you decide to go through with it, here's what you need to know.
When you change your geolocation on your iPhone, any apps on the device pick up a fake location of your choice and function accordingly. It can be very helpful when using GPS-based games like Pokemon GO or looking to access another region's shows on Netflix.
However, there are some drawbacks that you need to be aware of as well:
It's perfectly fine if reading that made you second guess wanting to change your geolocation, but good news. There are many reliable tools out there that help you safely spoof your geolocation without facing any negative consequences. Let's take a look at them and see how they work.
One of the most popular apps to fake the geolocation for iPhone is iMocker. The tool doesn't discriminate which iOS your iPhone or iPad is running on and will support any device.
Here are its main features:
Let's get to how you can use it to change your geolocation:
Step 1. Download the tool onto your computer and launch it.
Step 2. Click on the Start button and connect your iPhone to the computer.

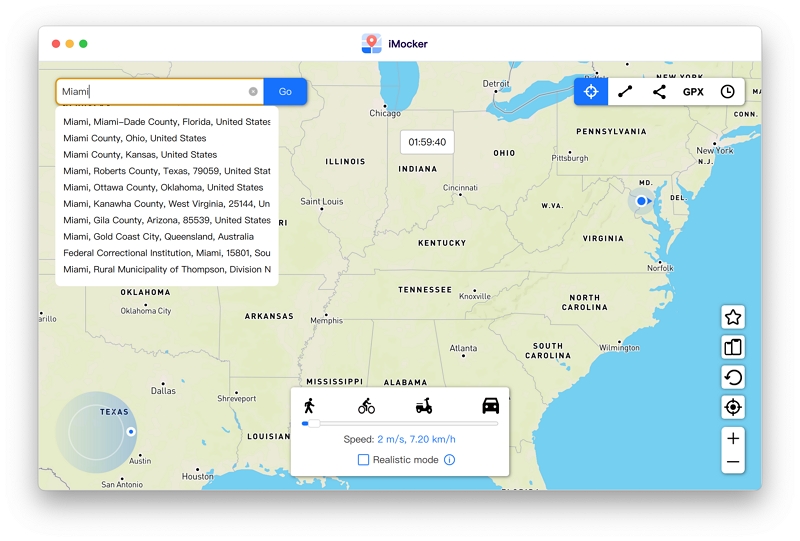
Step 3. Click on Teleport Mode (the first icon from your top-right). Now input the address of your fake location or use the map to choose where you want to be.
Step 4. Once it has locked in on the selected location, click the Move Here button.
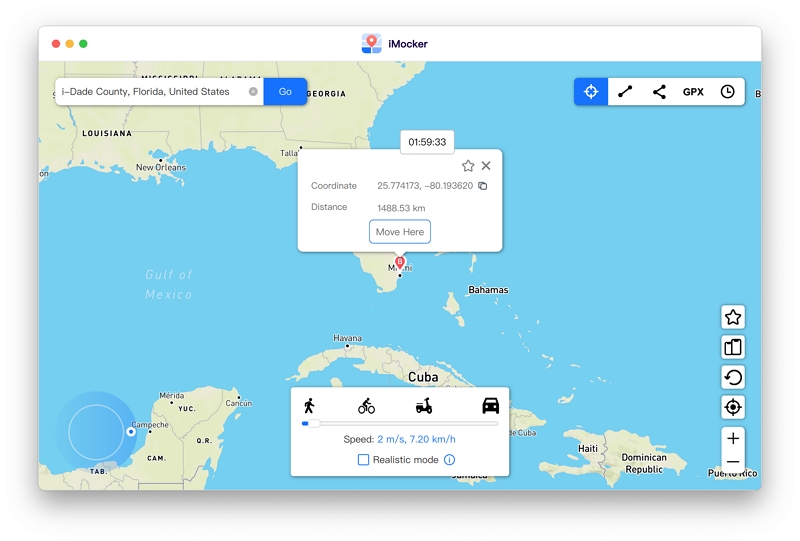
Now you'll see your geolocation change to the one you picked, and any apps on your iOS device will pick up on this new location when functioning.
See, wasn't that easy? This change in location isn't just for show; you can now access the weather, news, and trends of the new location on your iPhone or iPad. Plus, if you're playing a GPS-enabled game, you can easily navigate your new place like it was your own hometown.
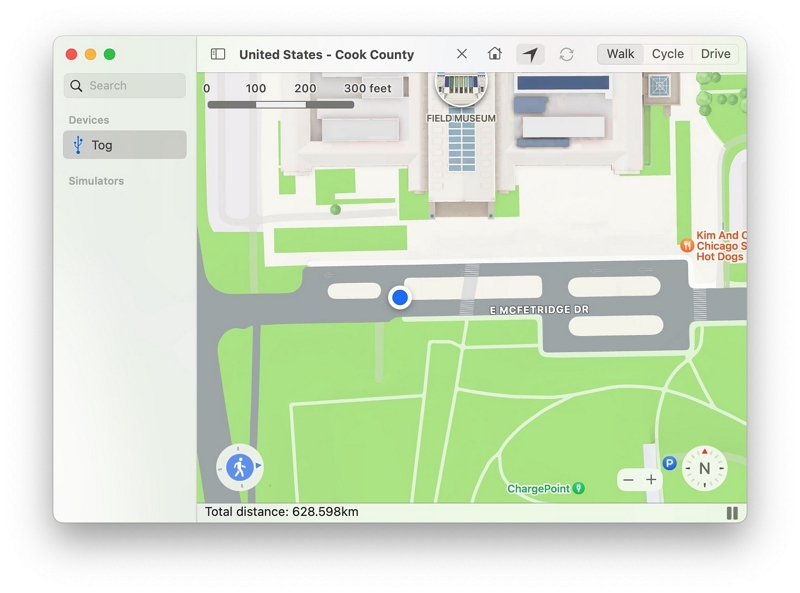
Another useful app is LocationSimulator, which is only running on a macOS computer. It's straightforward, easy to download, and gets the job done. Here's what you need to do to make use of it:
Now that you have LocationSimulator working on your computer, you can easily use it to play games like Pokemon GO or take screenshots of local weather and news for your work. If you ever need to go back to your original location, click the Home button on your toolbar, and you'll be transported back.
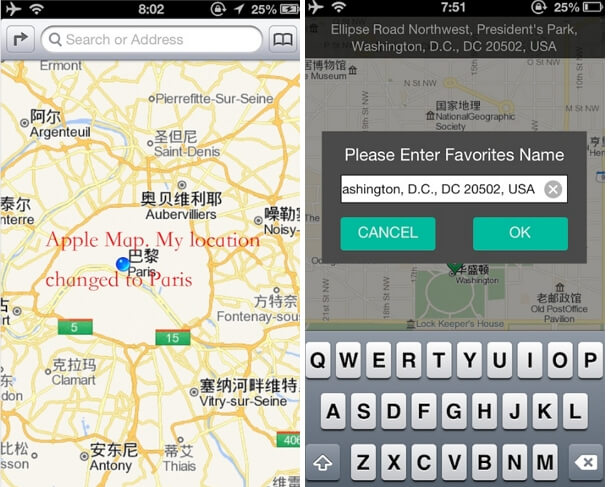
If your iPhone is running an old iOS version, including iOS 8, 9, 10 and 11, you can also try the Location Faker from Cydia, a location-faking app that is completely safe for iOS devices and doesn't have a complicated interface.
This tool is easy to download but will only work on a jailbroken phone. You can change your geolocation using these step-by-step instructions:
This app is great because it has an interface that even beginner users can work with. Plus, it is compatible with all your GPS-based apps, so you won't experience any glitching.
If you don't mind technical methods of getting the job done, the Xcode GPS spoofing without jailbreak is just for you! Unlike most tools that require you to bypass certain settings on your phone, this third-party app does things the right way. Just one thing, I really hope you have some idea about iOS development.
Here's what you need to do:
If you were holding your breath up until now, same. But it wasn't that hard. This method is perfectly for a long-lasting solution that won't reset when you restart your phone.

One of the things that makes it hard for you to spoof your GPS is that Apple doesn't want you to do that. So it doesn't let any official apps that spoof GPS make it to the App Store.
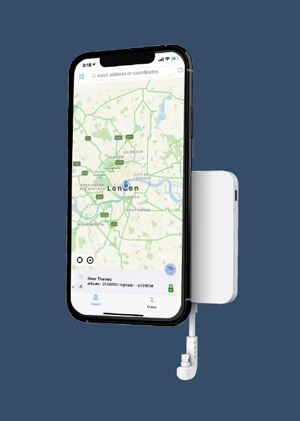
However, to make up for this, GFaker introduced a new hardware device that lets you fake your GPS on an iOS device. It connects to your iPhone or iPad via the lightning cable port, and the iOS picks it up as an external GPS device.
It comes across as authentic to the phone and doesn't cause any issues with its Apple compliant. Once you install the app that this hardware device comes with, you can easily set the location and enjoy GPS spoofing without jailbreaking.
However, just like everything Apple, the GFaker comes with a hefty price tag. Costing $369 for the GFaker GF, and $329 for the GFaker PRO, I feel like this is a very steep price tag just to catch a Pokemon or to watch that one show everyone at school keeps talking about!
Now that we've been over every possible way to spoof your geolocation on an iOS device, it all comes down to which is best. From this list, we saw some tools that required jailbreaking and others that required you to be a developer in the making. The only tool that didn't require either was a hardware device that costs a lot and kinda kills the aesthetic of your device.
So, that leaves us with the iMocker. This tool is easy to use and delivers results every time. Plus it's compatible with all iPhone devices including the latest one and all GPS-based apps and games like Pokemon Go. What more could you possibly ask for? With so much to offer, I'd definitely give it a shot. Would you?
